
By Andy Kennedy
In the 35 years that I have worked in the machine shop, I have been shown or learned and figured out a lot of little things that made several jobs easier and faster. I would like to share some of those tips in this article. A lot of shops have possibly heard of and are doing some of these things already. I have shared a lot of these tips and procedures with members since coming on board with the AERA tech team.
Piston to Rod Orientation on Small and Big Block Chevrolet
An easy way to lay pistons and rods out for assembling pistons on the rods. First using a marker, number the rods on the bearing tang side 1,3,5,7 and 2,4,6,8. Position rods 1,3,5,7 on the left side of the rod heater with the numbers and bearing tangs facing to the right. Position rods 2,4,6,8 on the right side of the heater with the numbers and bearing tangs facing to the left. Have the arrow or dot marking the front of the piston pointing towards the heating elements on the rod heater. (Facing away from you.)
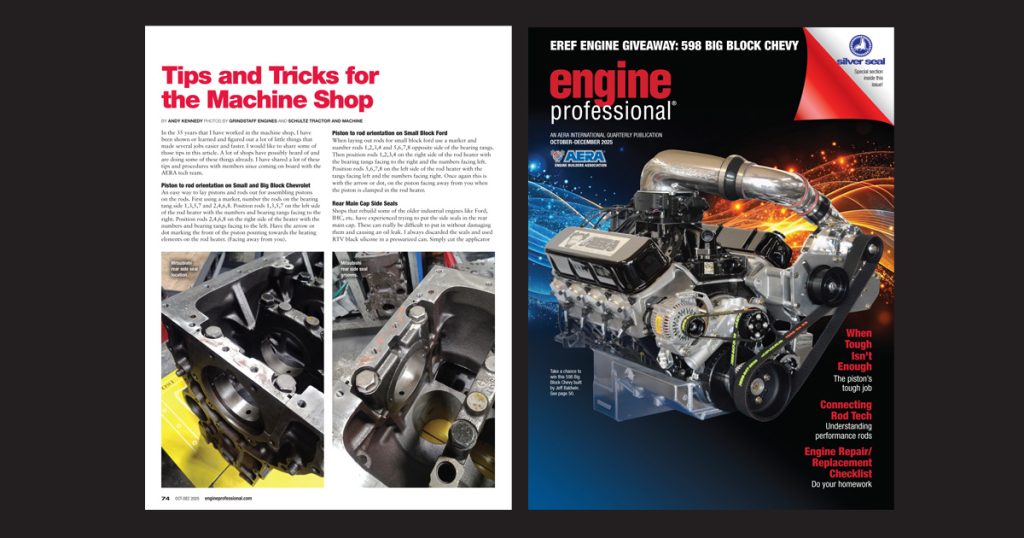
Read this article with all images in the digital issue of Engine Professional magazine https://engineprofessional.com/2025EPQ4/#p=76
Piston to Rod Orientation on Small Block Ford
When laying out rods for small block ford use a marker and number rods 1,2,3,4 and 5,6,7,8 opposite side of the bearing tangs. Then position rods 1,2,3,4 on the right side of the rod heater with the bearing tangs facing to the right and the numbers facing left. Position rods 5,6,7,8 on the left side of the rod heater with the tangs facing left and the numbers facing right. Once again this is with the arrow or dot, on the piston facing away from you when the piston is clamped in the rod heater.
Rear Main Cap Side Seals
Shops that rebuild some of the older industrial engines like Ford, IHC, etc. have experienced trying to put the side seals in the rear main cap. These can really be difficult to put in without damaging them and causing an oil leak. I always discarded the seals and used RTV black silicone in a pressurized can. Simply cut the applicator so it will just fit in the seal groove. When you start applying it you will see it pushing out from the bottom to the top of the main cap. Simply wipe off the excess silicone. I have never had a leak when I started doing this.
Tapered Pin Bushings
The next thing I would like to bring up is tapered pin bushings. These can be very difficult to remove and install without damaging or destroying them. Use one of the old piston pins, grind it down so it will slip fit into a new, unfinished pin bushing. Order one extra when doing the job so you can make your tool. Next, tack weld the bushing to the pin in 4 or 5 places on the top and bottom of the bushing, then put it in the lathe and turn the bushing OD down so it will slip through the connecting rod without the bushing. Using a cutoff wheel, cut down, and shape the welds on the bottom side of the bushing so the installer will push evenly on the bushing when removing and installing. These installers work very well, and you do not have to purchase expensive removal and installation tooling.
Diesel Injector Removal
Lastly, removing diesel injectors from some applications can be quite difficult. They become corroded over time and are really stuck in the head, especially Yanmar, Kubota and several other makes.
I would start with spraying Zep 45 or other penetrating oil on them and let it soak. I would find a core injector or a fuel line nut or remove the top of the core injector and weld a nut on it and simply use a slide hammer on these. The threads on injector bodies and the fuel inlet threads are normally very odd sizes and thread pitches. I was usually unsuccessful finding anything else that was the right size and thread pitch.
There are so many shops out there that have figured out little things like this that have really helped them as well as other shops and customers that they have shared them with. If anyone has any, and if you would like to share, I would really like to hear them.
Read this article with all images in the digital issue of Engine Professional magazine https://engineprofessional.com/2025EPQ4/#p=76