What every shop should consider
By Chris Hamann
How many times has a customer dropped off a cylinder head at your machine shop stating that it has a misfire. You go through the head, give it back to the customer, and same thing – still has a misfire. The customer paid all that money for you to go through the cylinder head and is upset because the issue was not fixed. Did you know that these issues could have been possibly fixed with a simple test before the engine was taken apart?
Misfires are one of the hardest issues to diagnose. Why? It’s because we can’t normally “see” a misfire. With many other situations that can happen to an internal combustion engine we can see or measure the issue. Misfires are when we wished we had X-ray vision. One of the biggest issues with a misfire is there are so many possible causes. Ignition system, fuel system, cylinder sealing or breathing issues, and density misfires are the most popular culprits.
Read this article with all images in the digital issue of Engine Professional magazine https://engineprofessional.com/2025EPQ1/#p=28
Diagnosis usually starts by initiating what I call “swaptronics.” We swap or replace spark plugs, plug wires, install new coils, distributors, crank triggers, fuel injectors, carburetors and the list go on and on while the song, “All I Need is a Miracle” by Mike and the Mechanics plays in our head on repeat.
When doing diagnostic work, one should start by asking oneself a few questions:
- Is the engine actually misfiring?
- Which cylinder(s) are misfiring?
- If more than one cylinder is misfiring is there a relationship between the misfiring cylinders? Companion cylinders? Sequential in the firing order? Next to each other physically?
- If the engine is modern EFI with scan data has the PCM identified the correct misfiring cylinder?
- Under what conditions does the misfire occur? Hot? Cold? Idle? High RPM?
- What do the fuel trims indicate during the misfire?
- What do the rear oxygen sensors indicate during the misfire?
Answering these questions before we get started will assist in the diagnostic direction and procedure.
When a customer comes into my shop complaining of an issue, I always like to do some testing before anything is torn down. This way I can verify some simple things and normally have the issue figured out in less than 30 minutes.
In most cases I like to start with verifying engine mechanical integrity. The very simplest test is listening to the cranking cadence; disable spark and/or fuel and crank the engine. Listen carefully to how it sounds as it should be “rhythmic.”
During normal operation the engine starts up so fast before the crankshaft can progress through its first 720° cycle. Disabling the engine from starting and cranking the engine for 5-8 seconds while listening to the sound how the engine cranks will tell me 95% of the time if I have a cylinder sealing issue.
When the engine cranks to the cylinder that has a sealing issue the engine crankshaft will speed up and then slows back down when it hits the next cylinder in the firing order that is sealing correctly. While performing a compression test on many engines – especially ones in service is not always the easiest, a leak down test even is more painful.
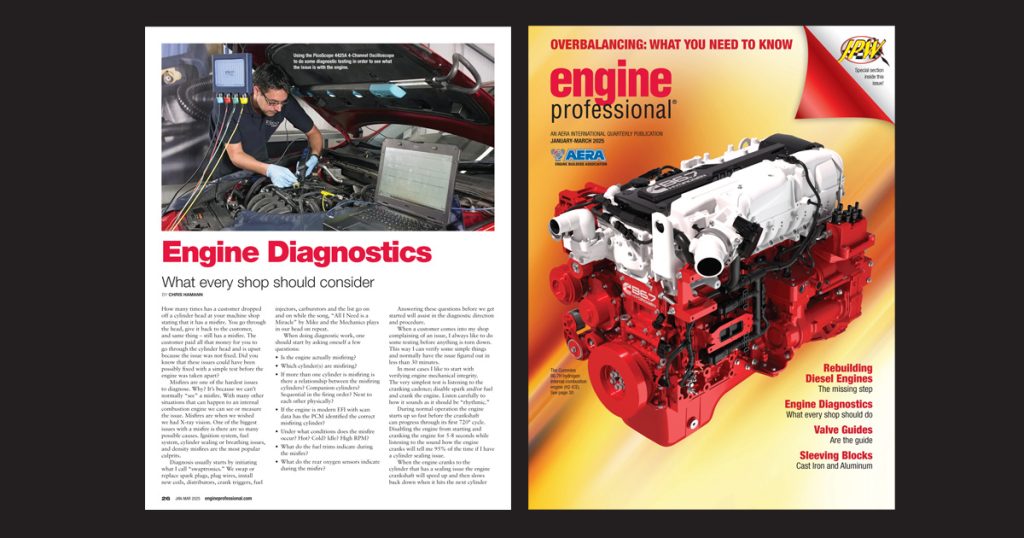
A relatively new method that I have been using for the last 15+ years is using electronic methods using a PicoScope, a UK based oscilloscope manufacturer. Their PicoScope Automotive 7 software is an absolute game changer in how diagnostics can be performed. Many times, engine mechanical diagnostics can be performed without much disassembly using cranking current and cranking vacuum.
You have to think of this as a new tool in the toolbox. One that can assist you with running tests and getting results that can assist with diagnosing what the issue is with the engine. Gas, Diesel does not matter, the system will work with both engine applications.
For this article, I wanted to plant the seed to make sure that as a machine shop, we need to do a better job of educating our customers about testing and doing diagnostic work before they just go ahead and start taking the engine apart or swapping parts out.
My goal is to present a case study that I have been associated with in upcoming issues of Engine Professional magazine, showing you the diagnostic process and how we came to solving the problem.
Case studies have a simple premise: A little bit of theory, we’ll talk about the tooling, and then apply it to a broken engine.
Read this article with all images in the digital issue of Engine Professional magazine https://engineprofessional.com/2025EPQ1/#p=28

